Composing Frame for the Perfect Photo
Hope you love our previous post. Now we are moving to some more advanced techniques for beginners. “How to compose frame for the perfect picture”. Scared? Hope you aren’t
In Photography there are many Rules. But the first rule is Break All Rules. Now you got a smile… Right?
Here we share some Ideas (not Rules) to compose your frames. But we suggest you to be more and more creative as possible. We repeat, we won’t say that, if you have to be a good Food Photographer, You must apply these Ideas. We never say it. Just Ideas only.
Let’s Start.
- Rule of Third
- The Background
- The Angle
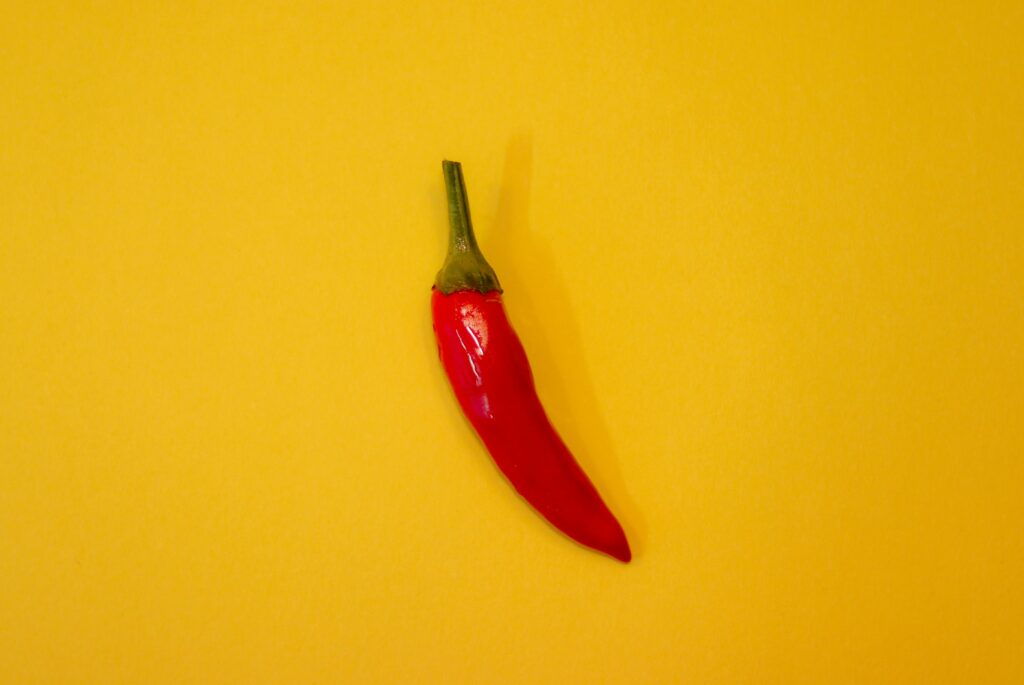
- Rule of Third– No, Don’t run away. It’s not scary as you think. See the Image Below
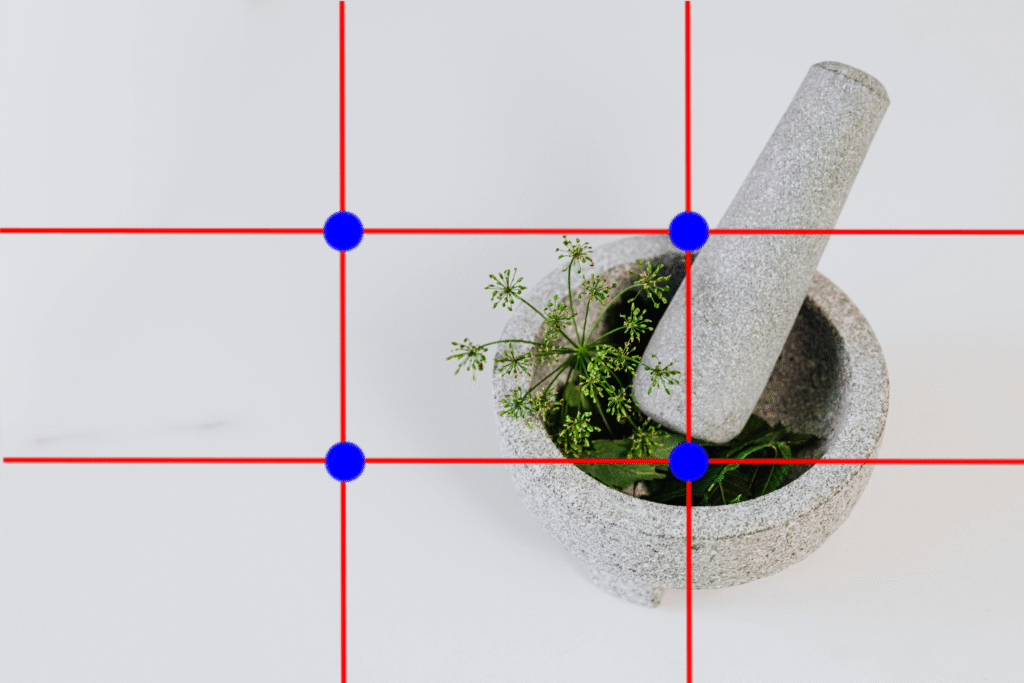
Rule of Third
You see 4 blue dots? those are points of Interests. In fashion photography when you take portrait, it is advised that the subject’s eye should come on either four point. Here the subject is food and food have no eyes!! so what it means? If we take picture and the subjects focus point lies on those point, the picture will be balanced. Means the proportion between the subject and background will have a good proportion
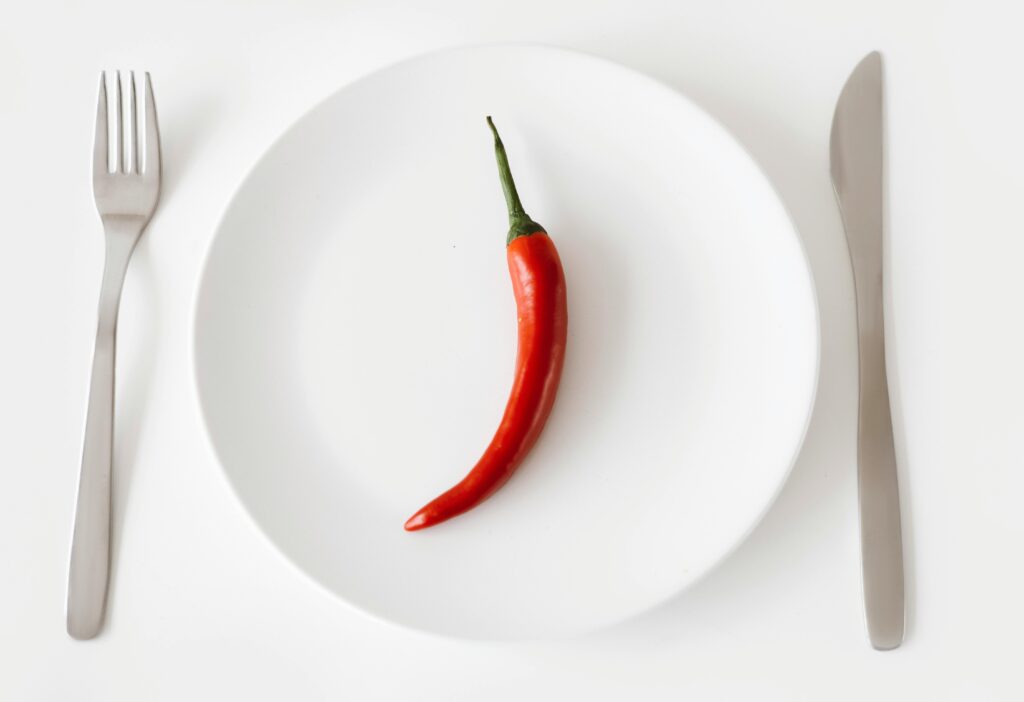
The ideal proportion is 75:25. The subject can occupy a Maximum 75% and background need at least 25%. Means the subject get some space to breath!! And the Image look Balanced !
- The Background
Nothing special with background. The background is used when we need to highlight the subject. You can try a contrasting background or bright background depends on the subject’s Colour and Theme. You could use some backdrop cloths for the purpose. You could use some old cloth or cloths for the purpose. Depends on the theme
- The Angle
It simple means the angle you are taking the photograph. Typically there are three angles there
- Eye Level or Straight on Angle
- The 45 degree angle
- The Over head angle or 90 degree shot
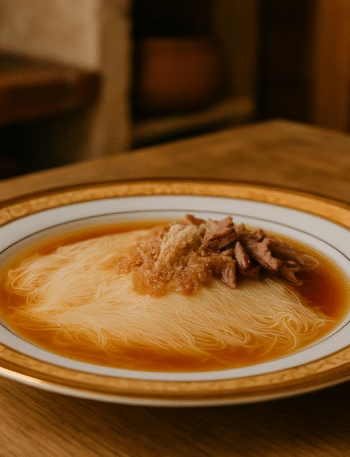
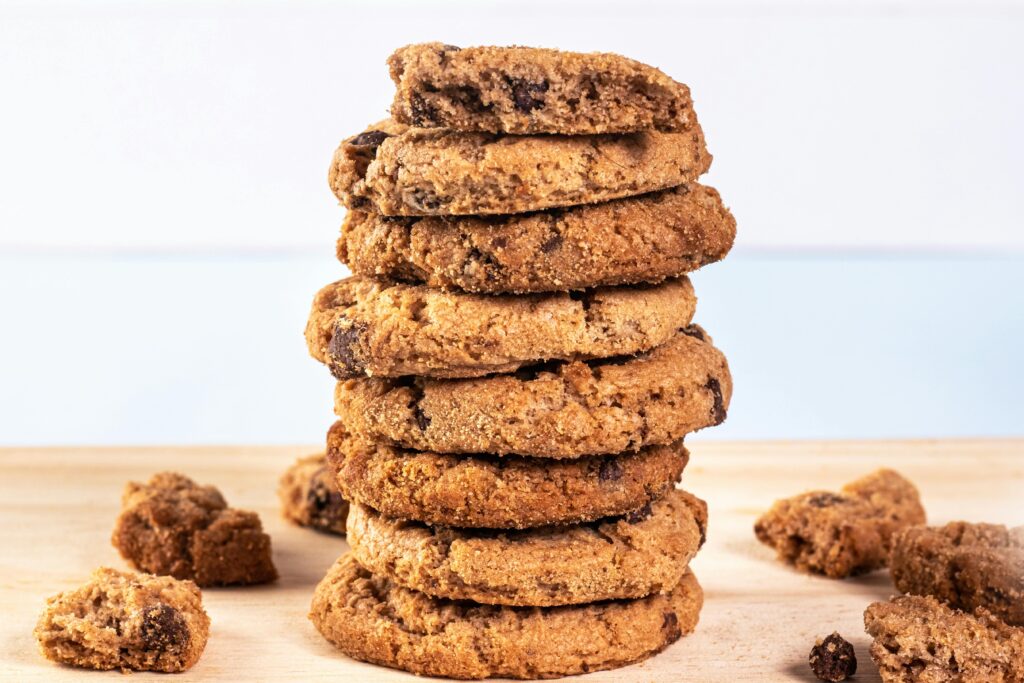
- Eye Level or Straight on Angle – Used to capture food that have Height. Or for creating such a feel. Look at the image below. In this Image , the Height of the subject is projected
This type of Shots are best for Cookies, Beverages, and Fruits etc
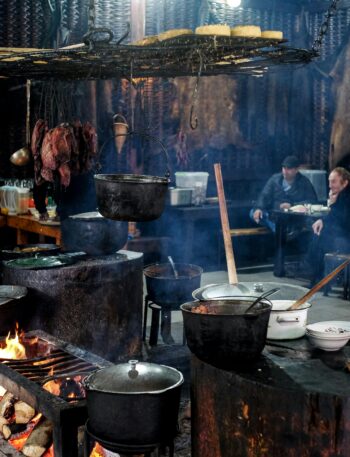
- The 45 degree Angle – It’s the angle most professional photographers prefer. The main advantage of this photograph is you get much details. The subject, properties etc.
For example: Your blue bowl with some designs outside. In such case you have to give some importance to bowl too. In such case the 45 degree shot will help you.
The advantages on such shots are, the users get clear picture about the Shape of the bowl, the Subject, Depth, and most importantly it reduce the use of Backdrops (not backgrounds)
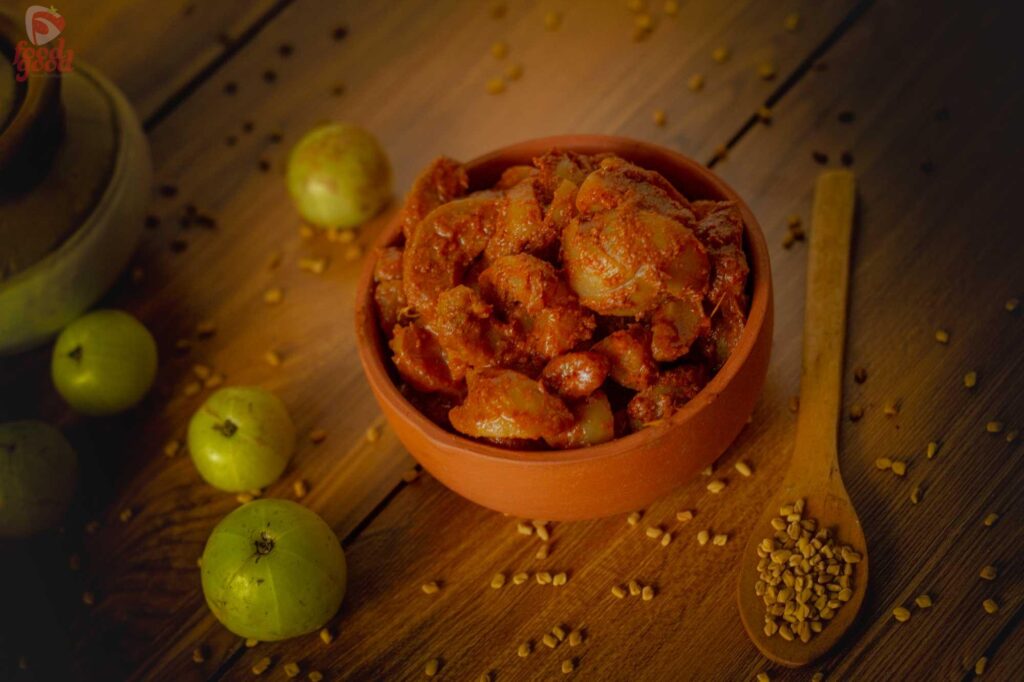
The 45 degree shot doesn’t mean you use some protractor to use to get the exact 45 degree. The angle could vary from 25 -75 degree. Depends on your subject. So be adventurous.
But only disadvantage of these shots is you will miss the Depth. The image may look flatten
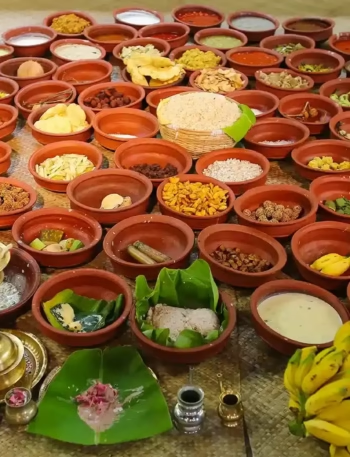
- The Over head Shot – the 90 degree photograph (again angle? oh No!!) This become popular because of Instagram and Mobile Photography.
The advantage of these shots are, You can includes many subjects in same frame. Such as a full course of Dinner, or a group feast etc.
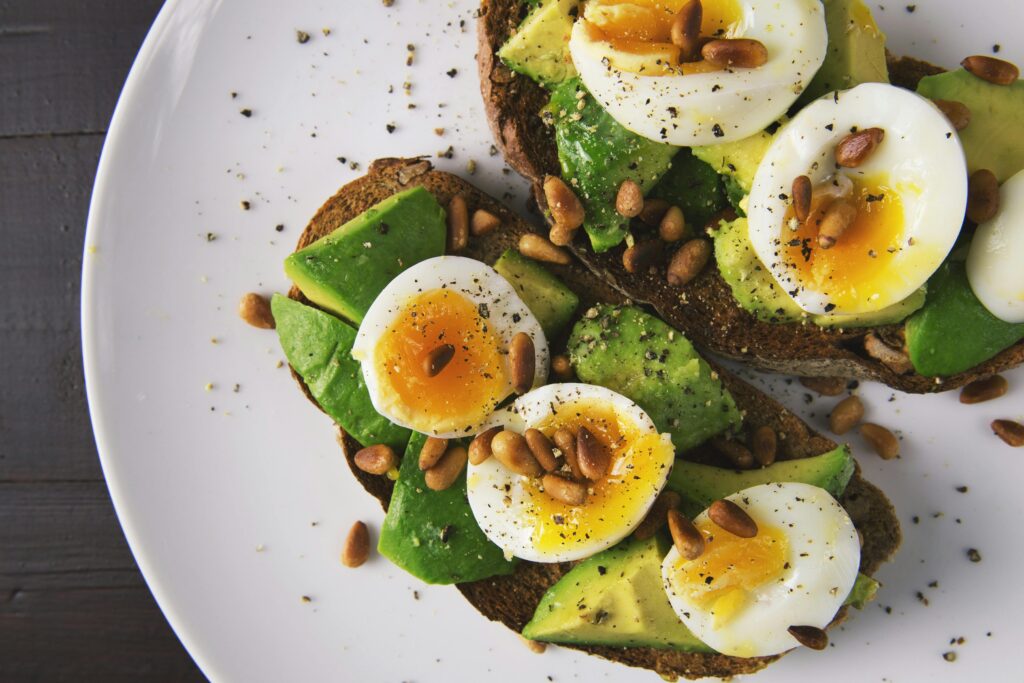
But only disadvantage of these shots is you will miss the Depth. The image may look more flatten
And Properties and Colours – we haven’t missed it, we already discussed it lightly on previous article. Be experimental, be creative!!
These are basic Composition Tips!! Hope you got something! We will meet again with more advanced tips!!
Thank You